Field notes
Install a feedback widget on any site in two minutes
4 min readThe Bugpot team
Every feedback widget promises a quick install. Most of them then hand you a config object with forty keys. Bugpot ships as one script tag, and the defaults are the settings most sites keep. Here is the whole process, timed honestly: it took us 1 minute 40 seconds on a fresh project, and most of that was logging in.
One script tag, nothing else
Create a project, and the dashboard shows you the snippet with your project key already filled in. Paste it before the closing body tag of any page you want feedback on.
<script
  src="https://app.bugpot.io/embed/loader.js?p=YOUR_PROJECT_KEY"
  async
></script>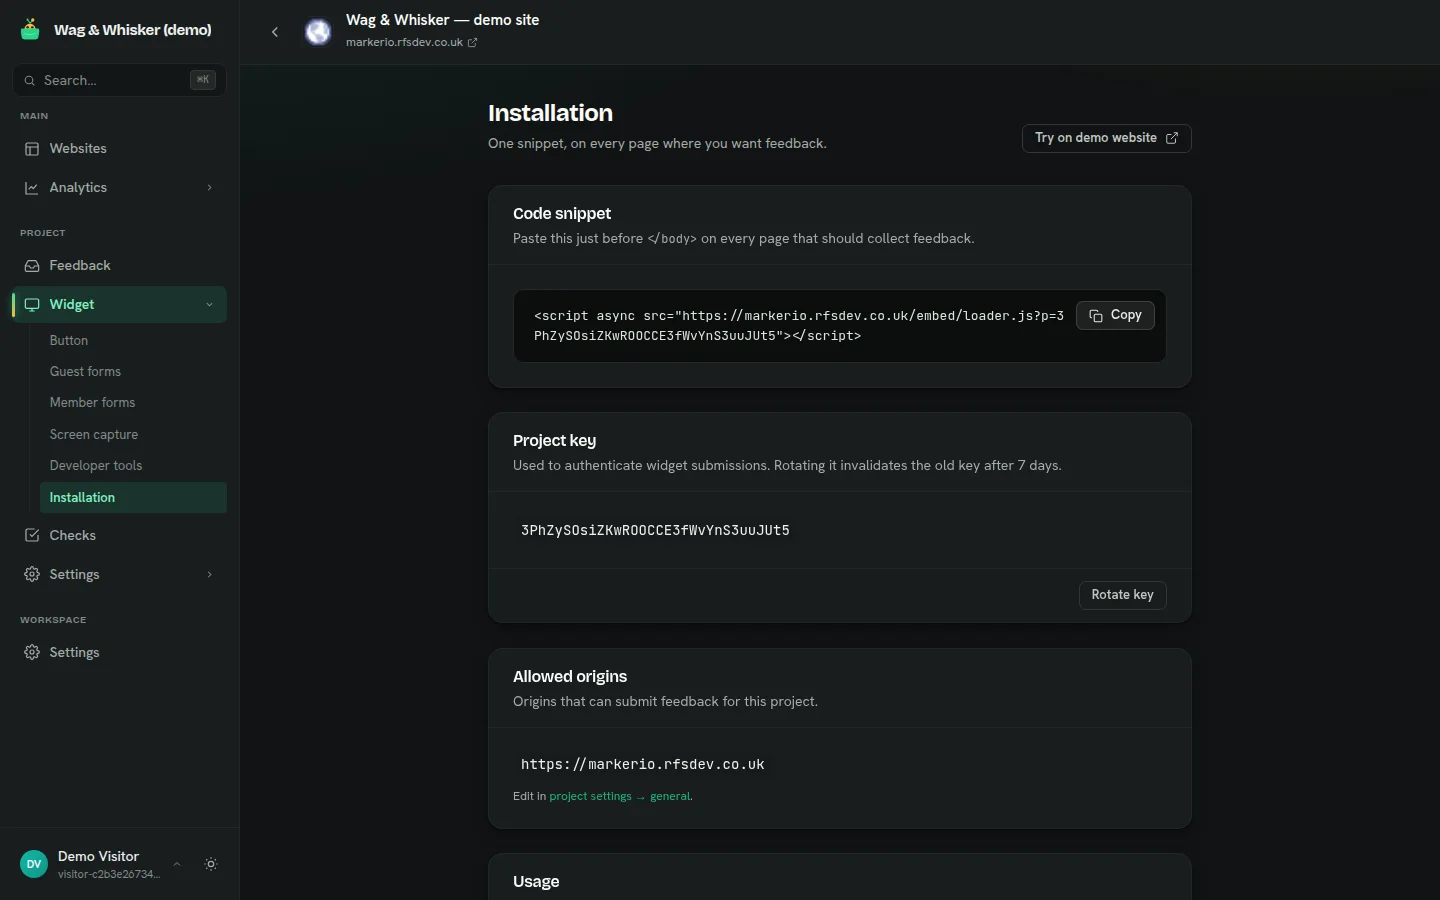
What actually loads on your page
The loader is a single deferred request, so it never blocks your page render. The widget draws itself inside a shadow root, which means your CSS and its CSS never meet. No resets leak in, no button styles leak out. We have installed it on Tailwind sites, WordPress themes from 2014, and one site that still used table layouts. None of them noticed.
There is no cookie, no fingerprinting, and nothing runs until a visitor actually opens the widget. If you view source on a page with Bugpot installed, the footprint is the script tag and a launcher button.
Where the feedback button appears
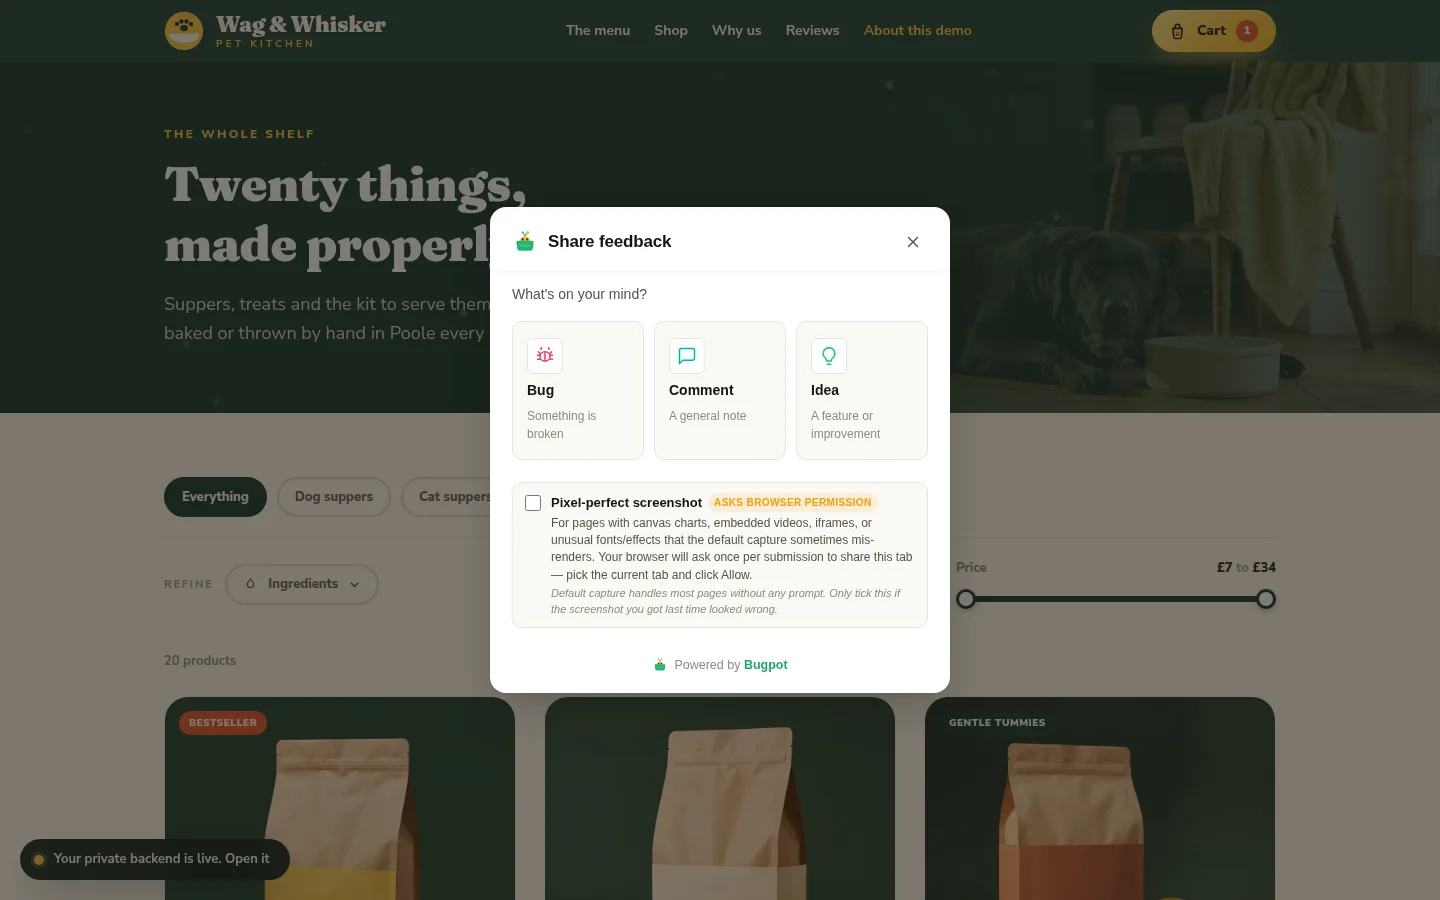
By default the launcher sits bottom right, tucked out of the way of chat bubbles and cookie banners. You can move it per project from the widget settings, recolour it to match your brand, and rename the label. Agencies running client sites usually keep the default and let the brand colour do the work.
Try the install before you do the install
The screenshots in this post come from our live demo, a small fake pet shop with the widget already wired to a private backend. If you want to feel the flow before touching your own site, open the demo, click the feedback button, and file something. Installing the feedback widget on your real site after that will feel familiar, because it is the same two minutes.